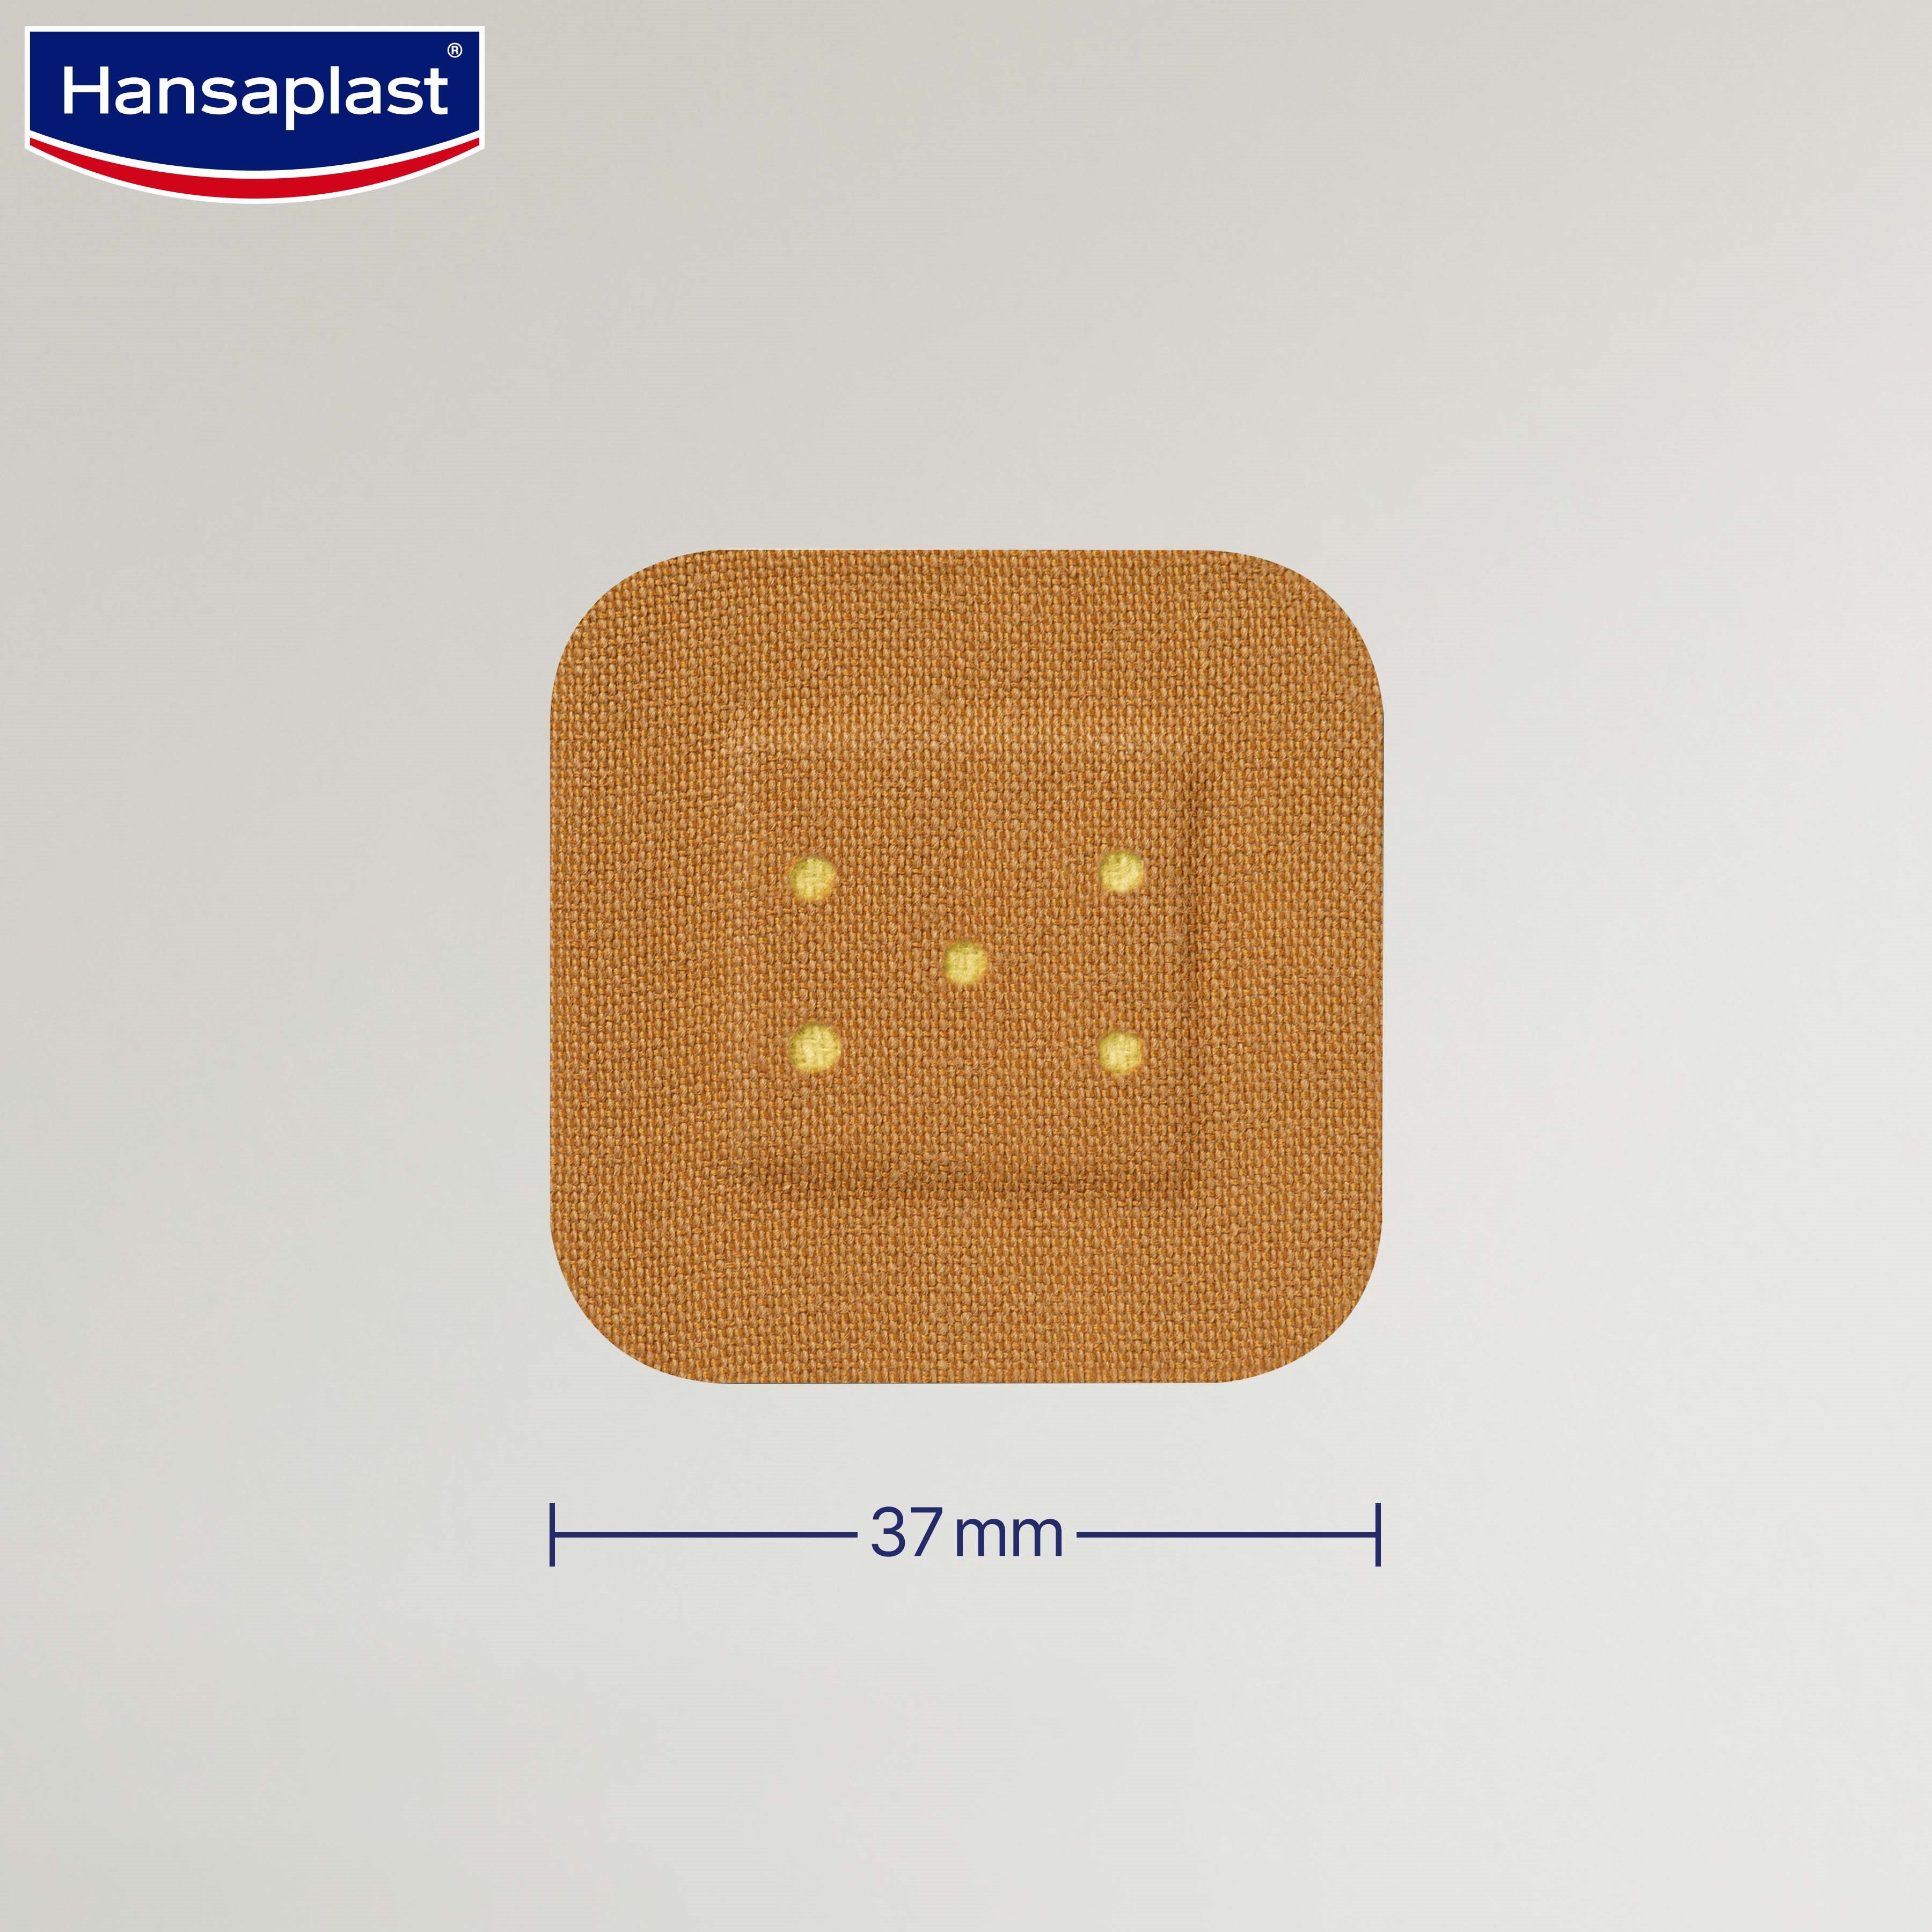

Patch Plaster
Specialized protection for elbows and knees
Allows flexibility of elbows and knees
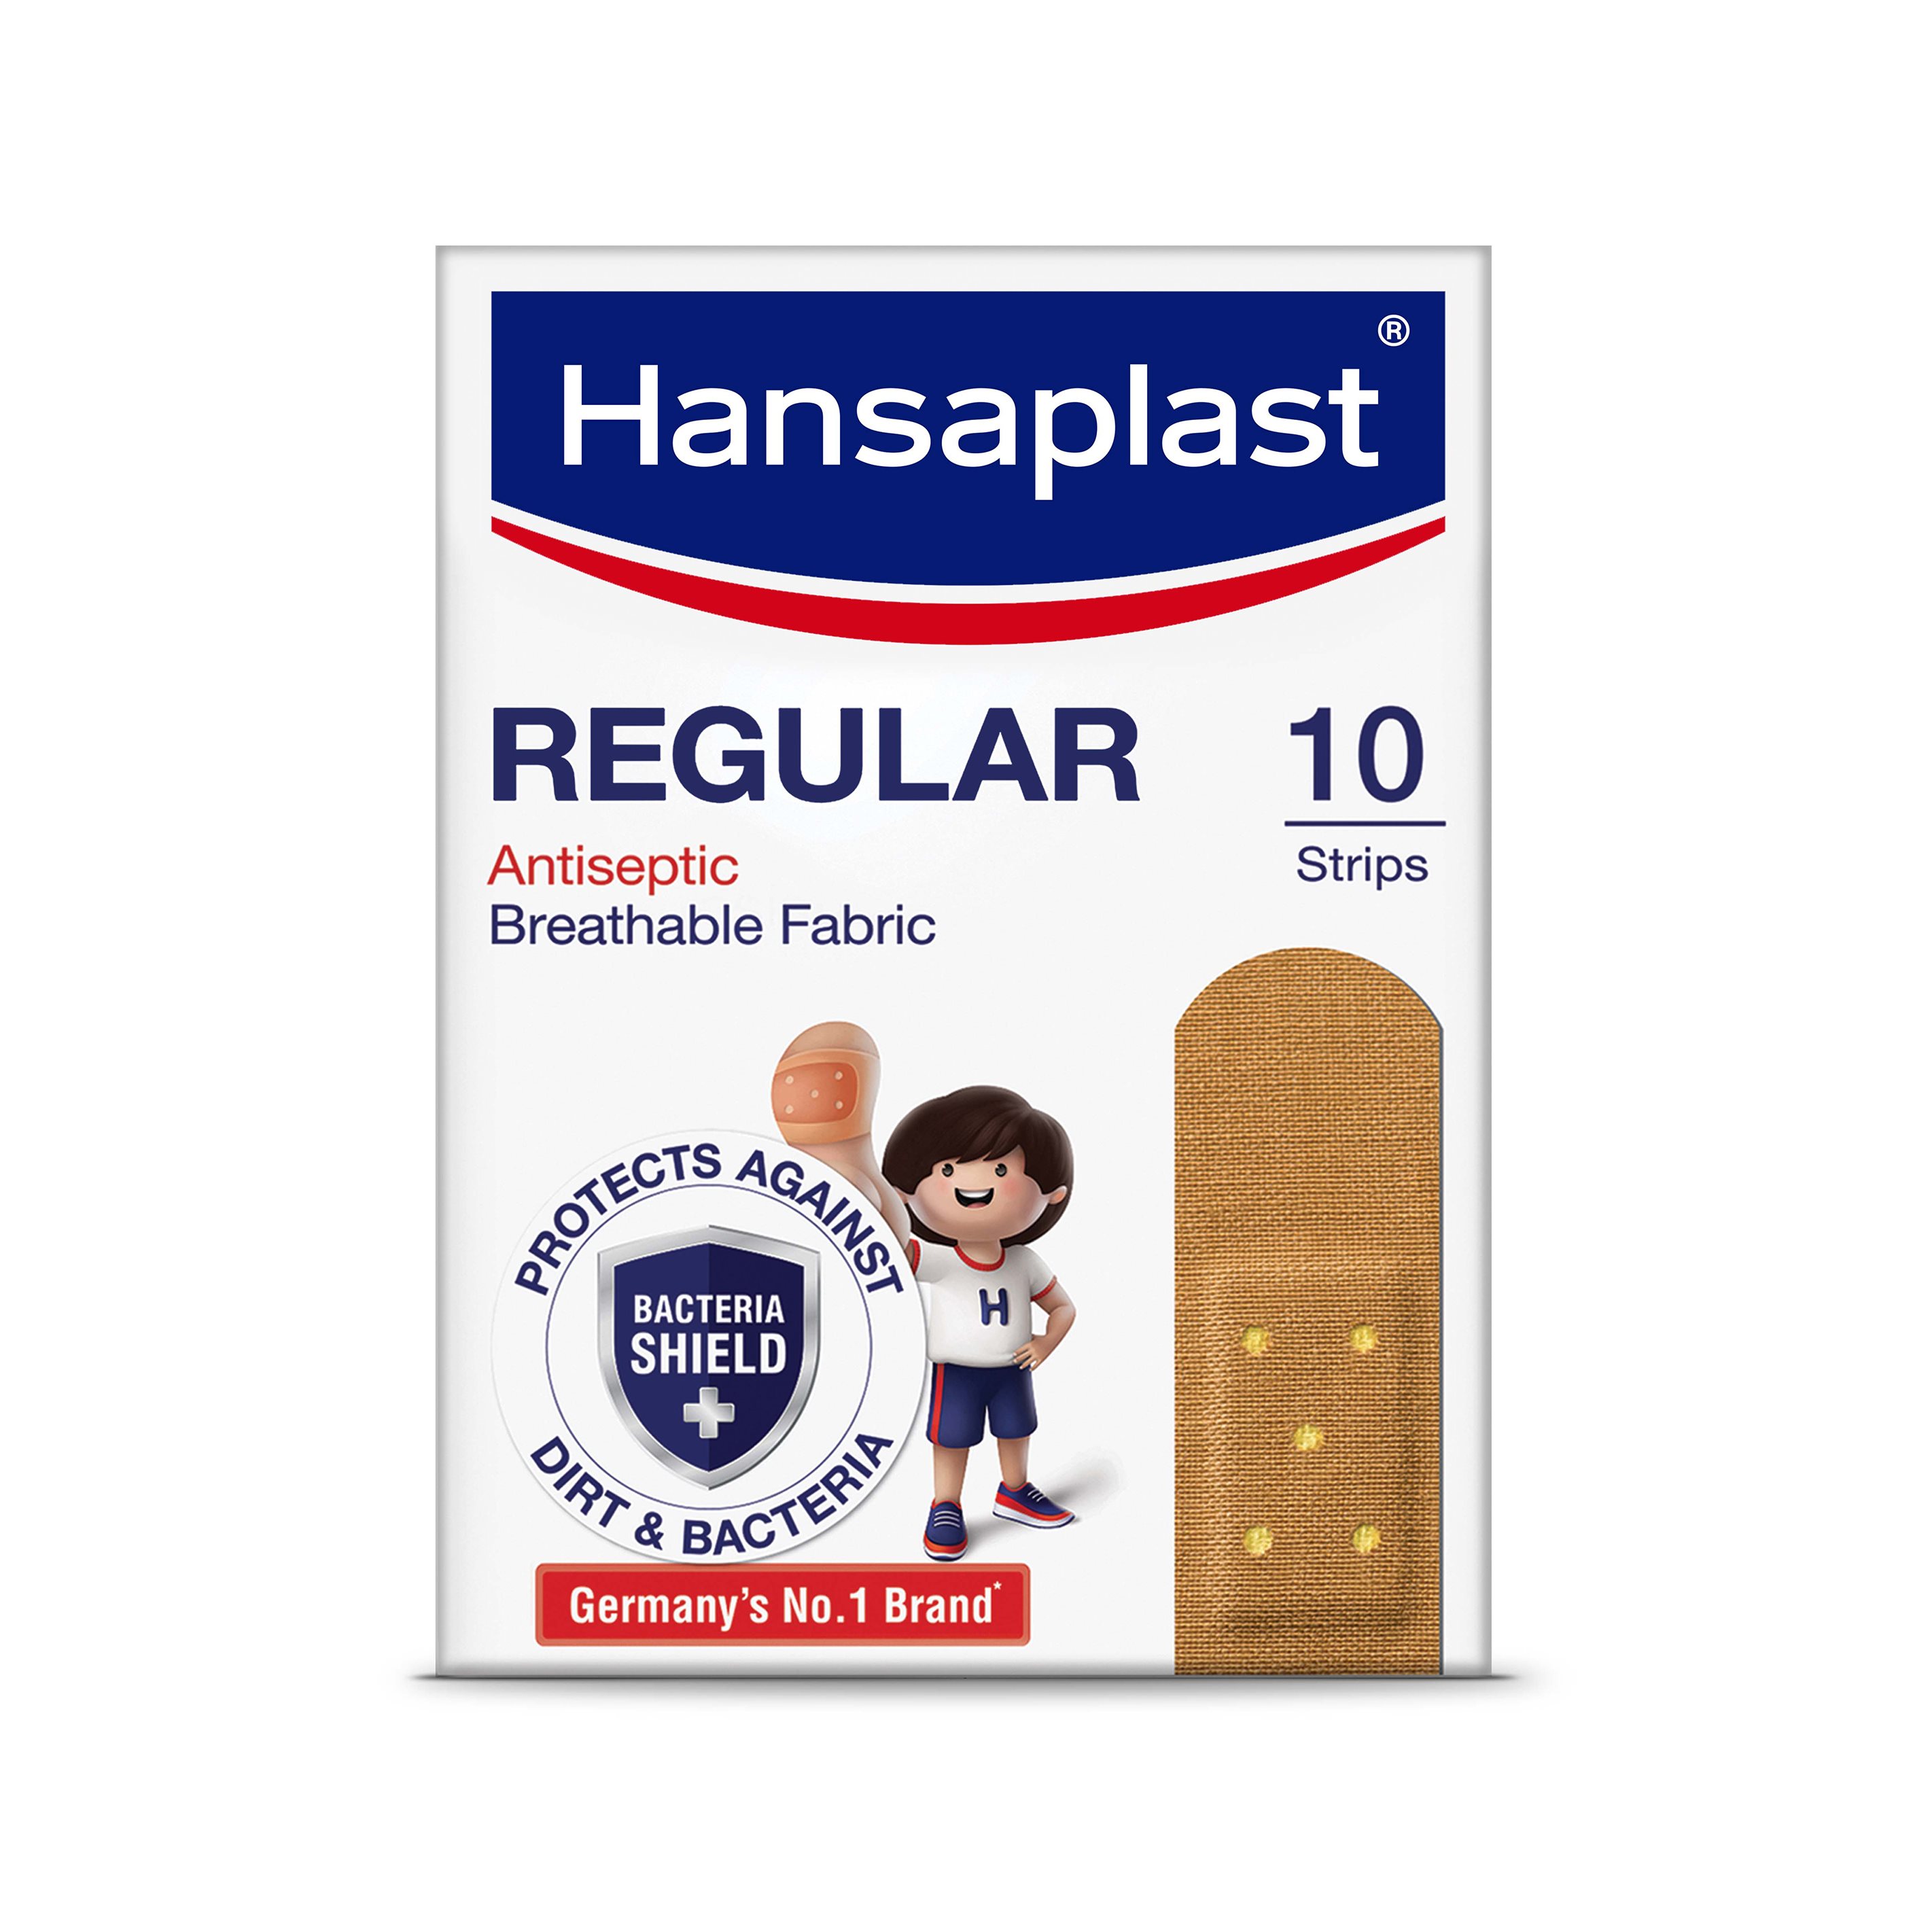
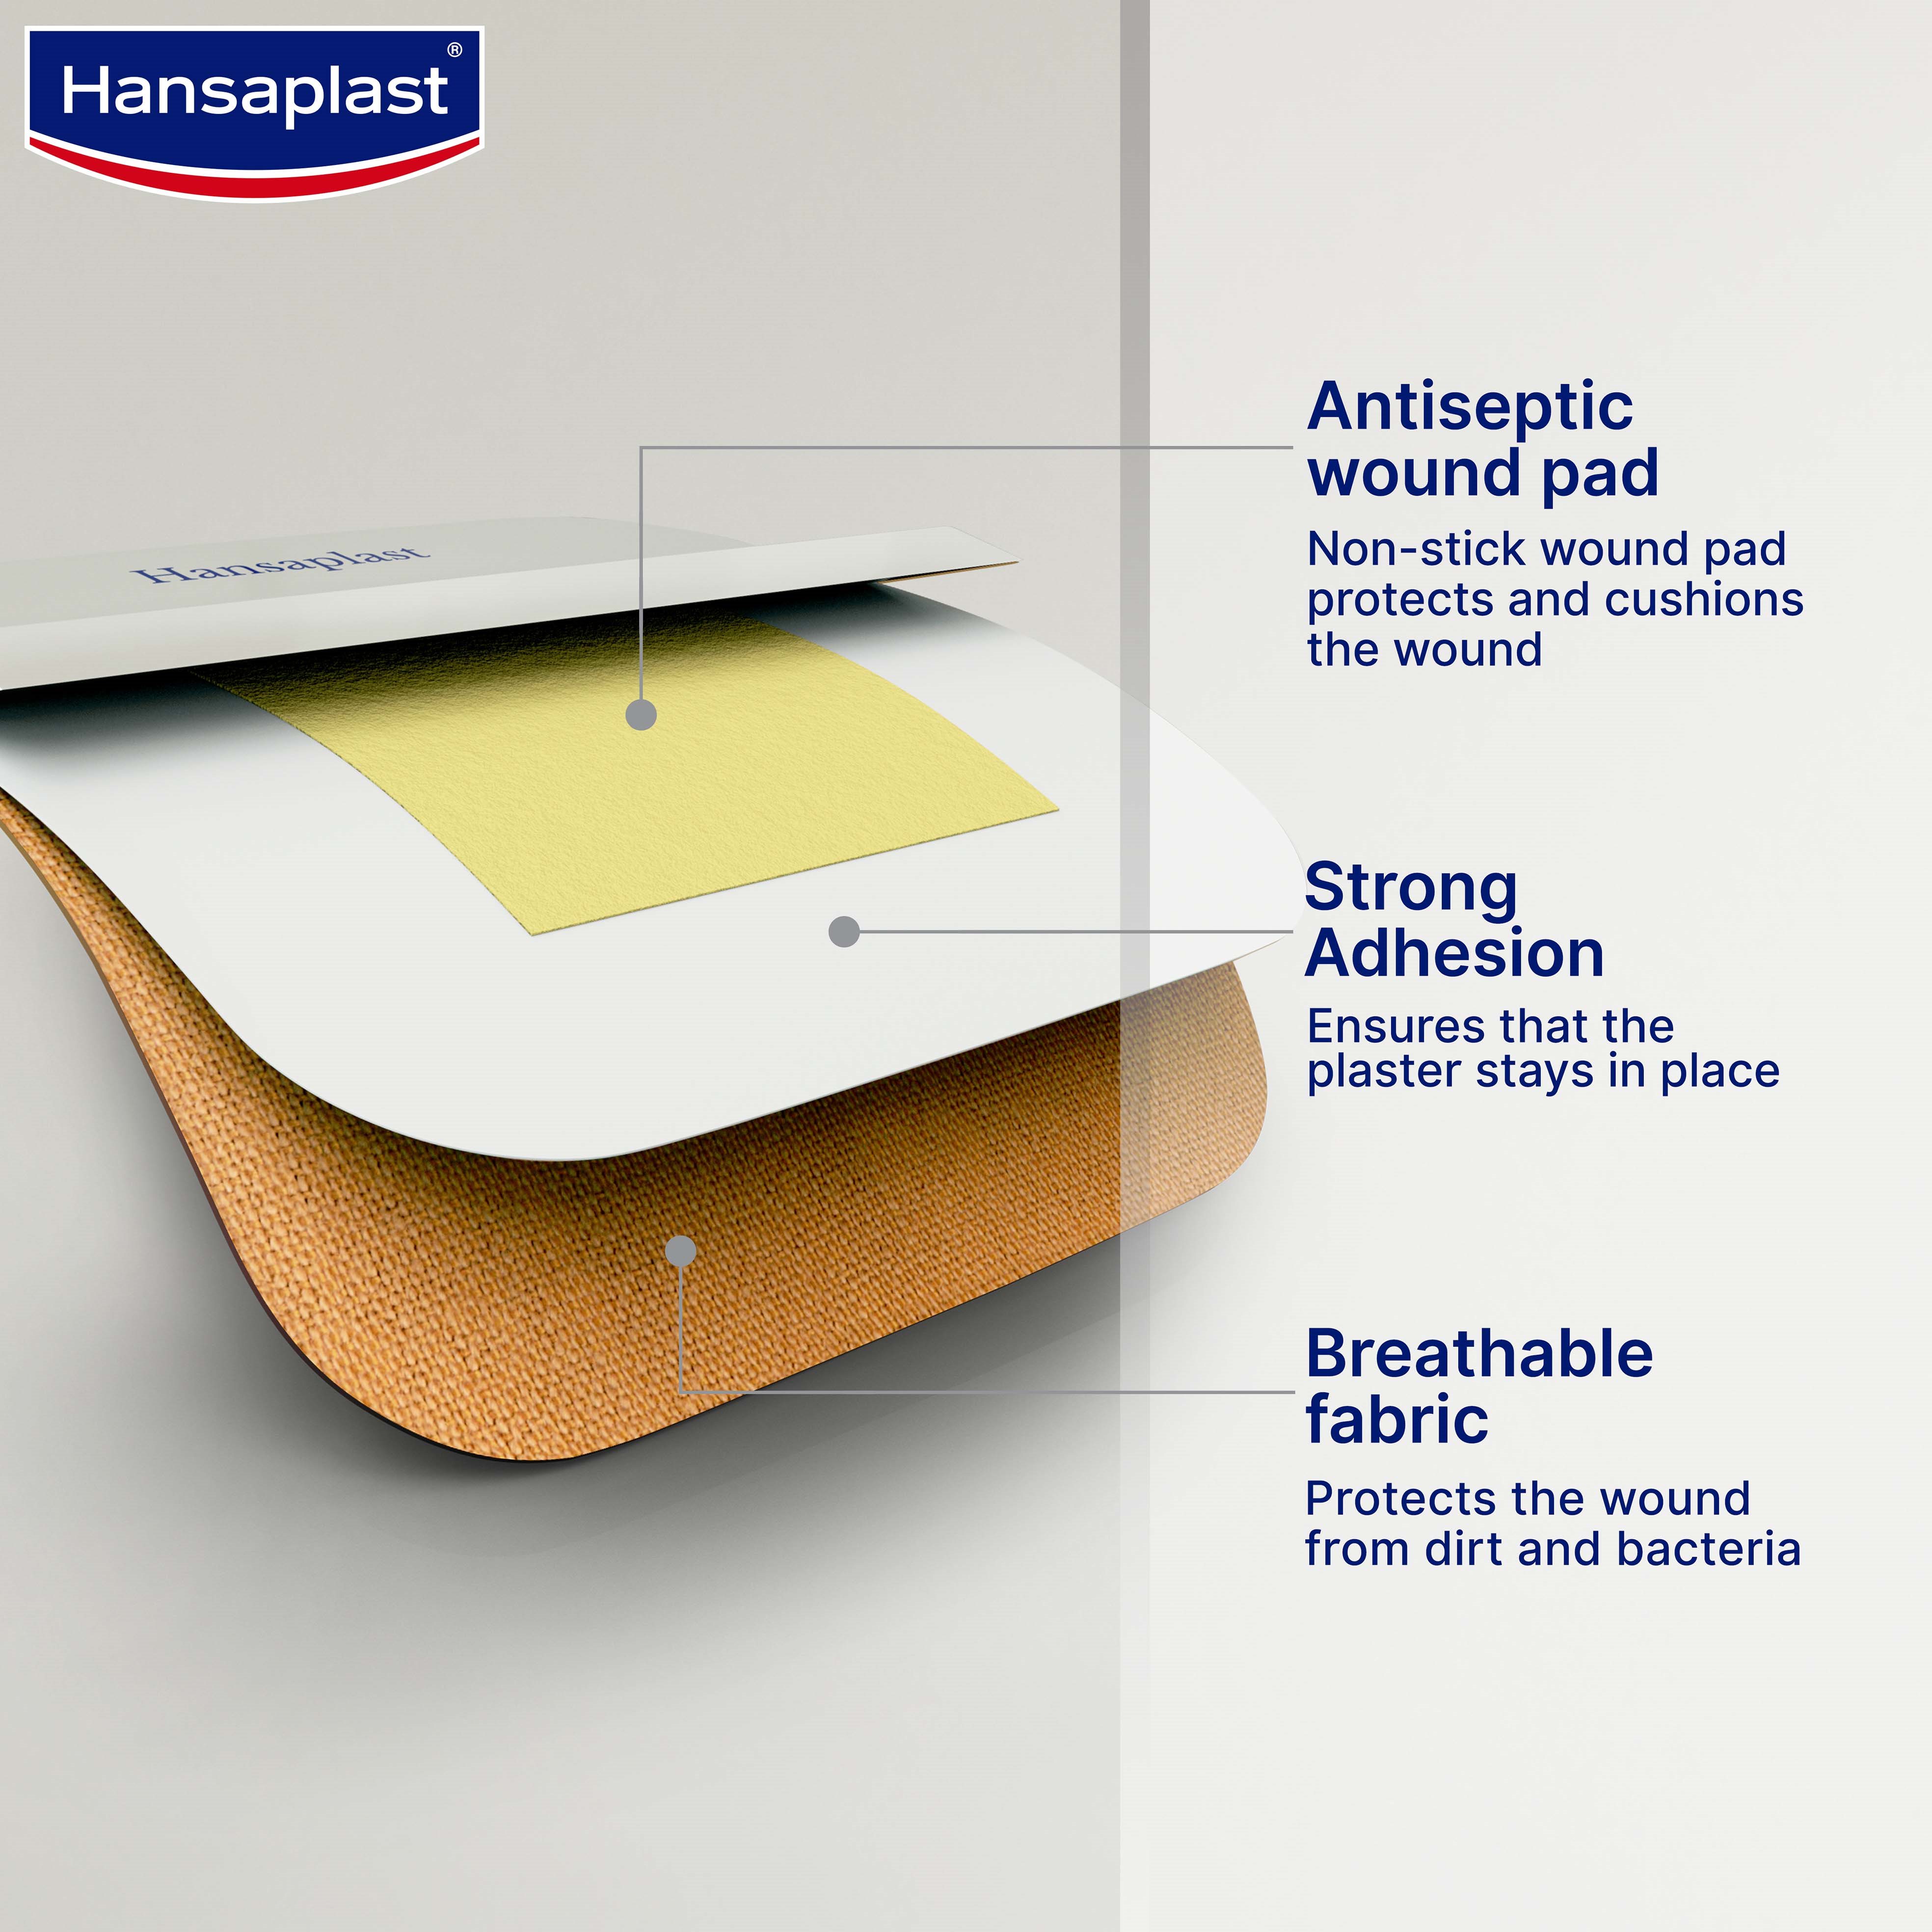
Made with gentle, skin-friendly fabric
Comes with strong adhesion to keep the plaster in place
Easy to apply on joints
Product Info
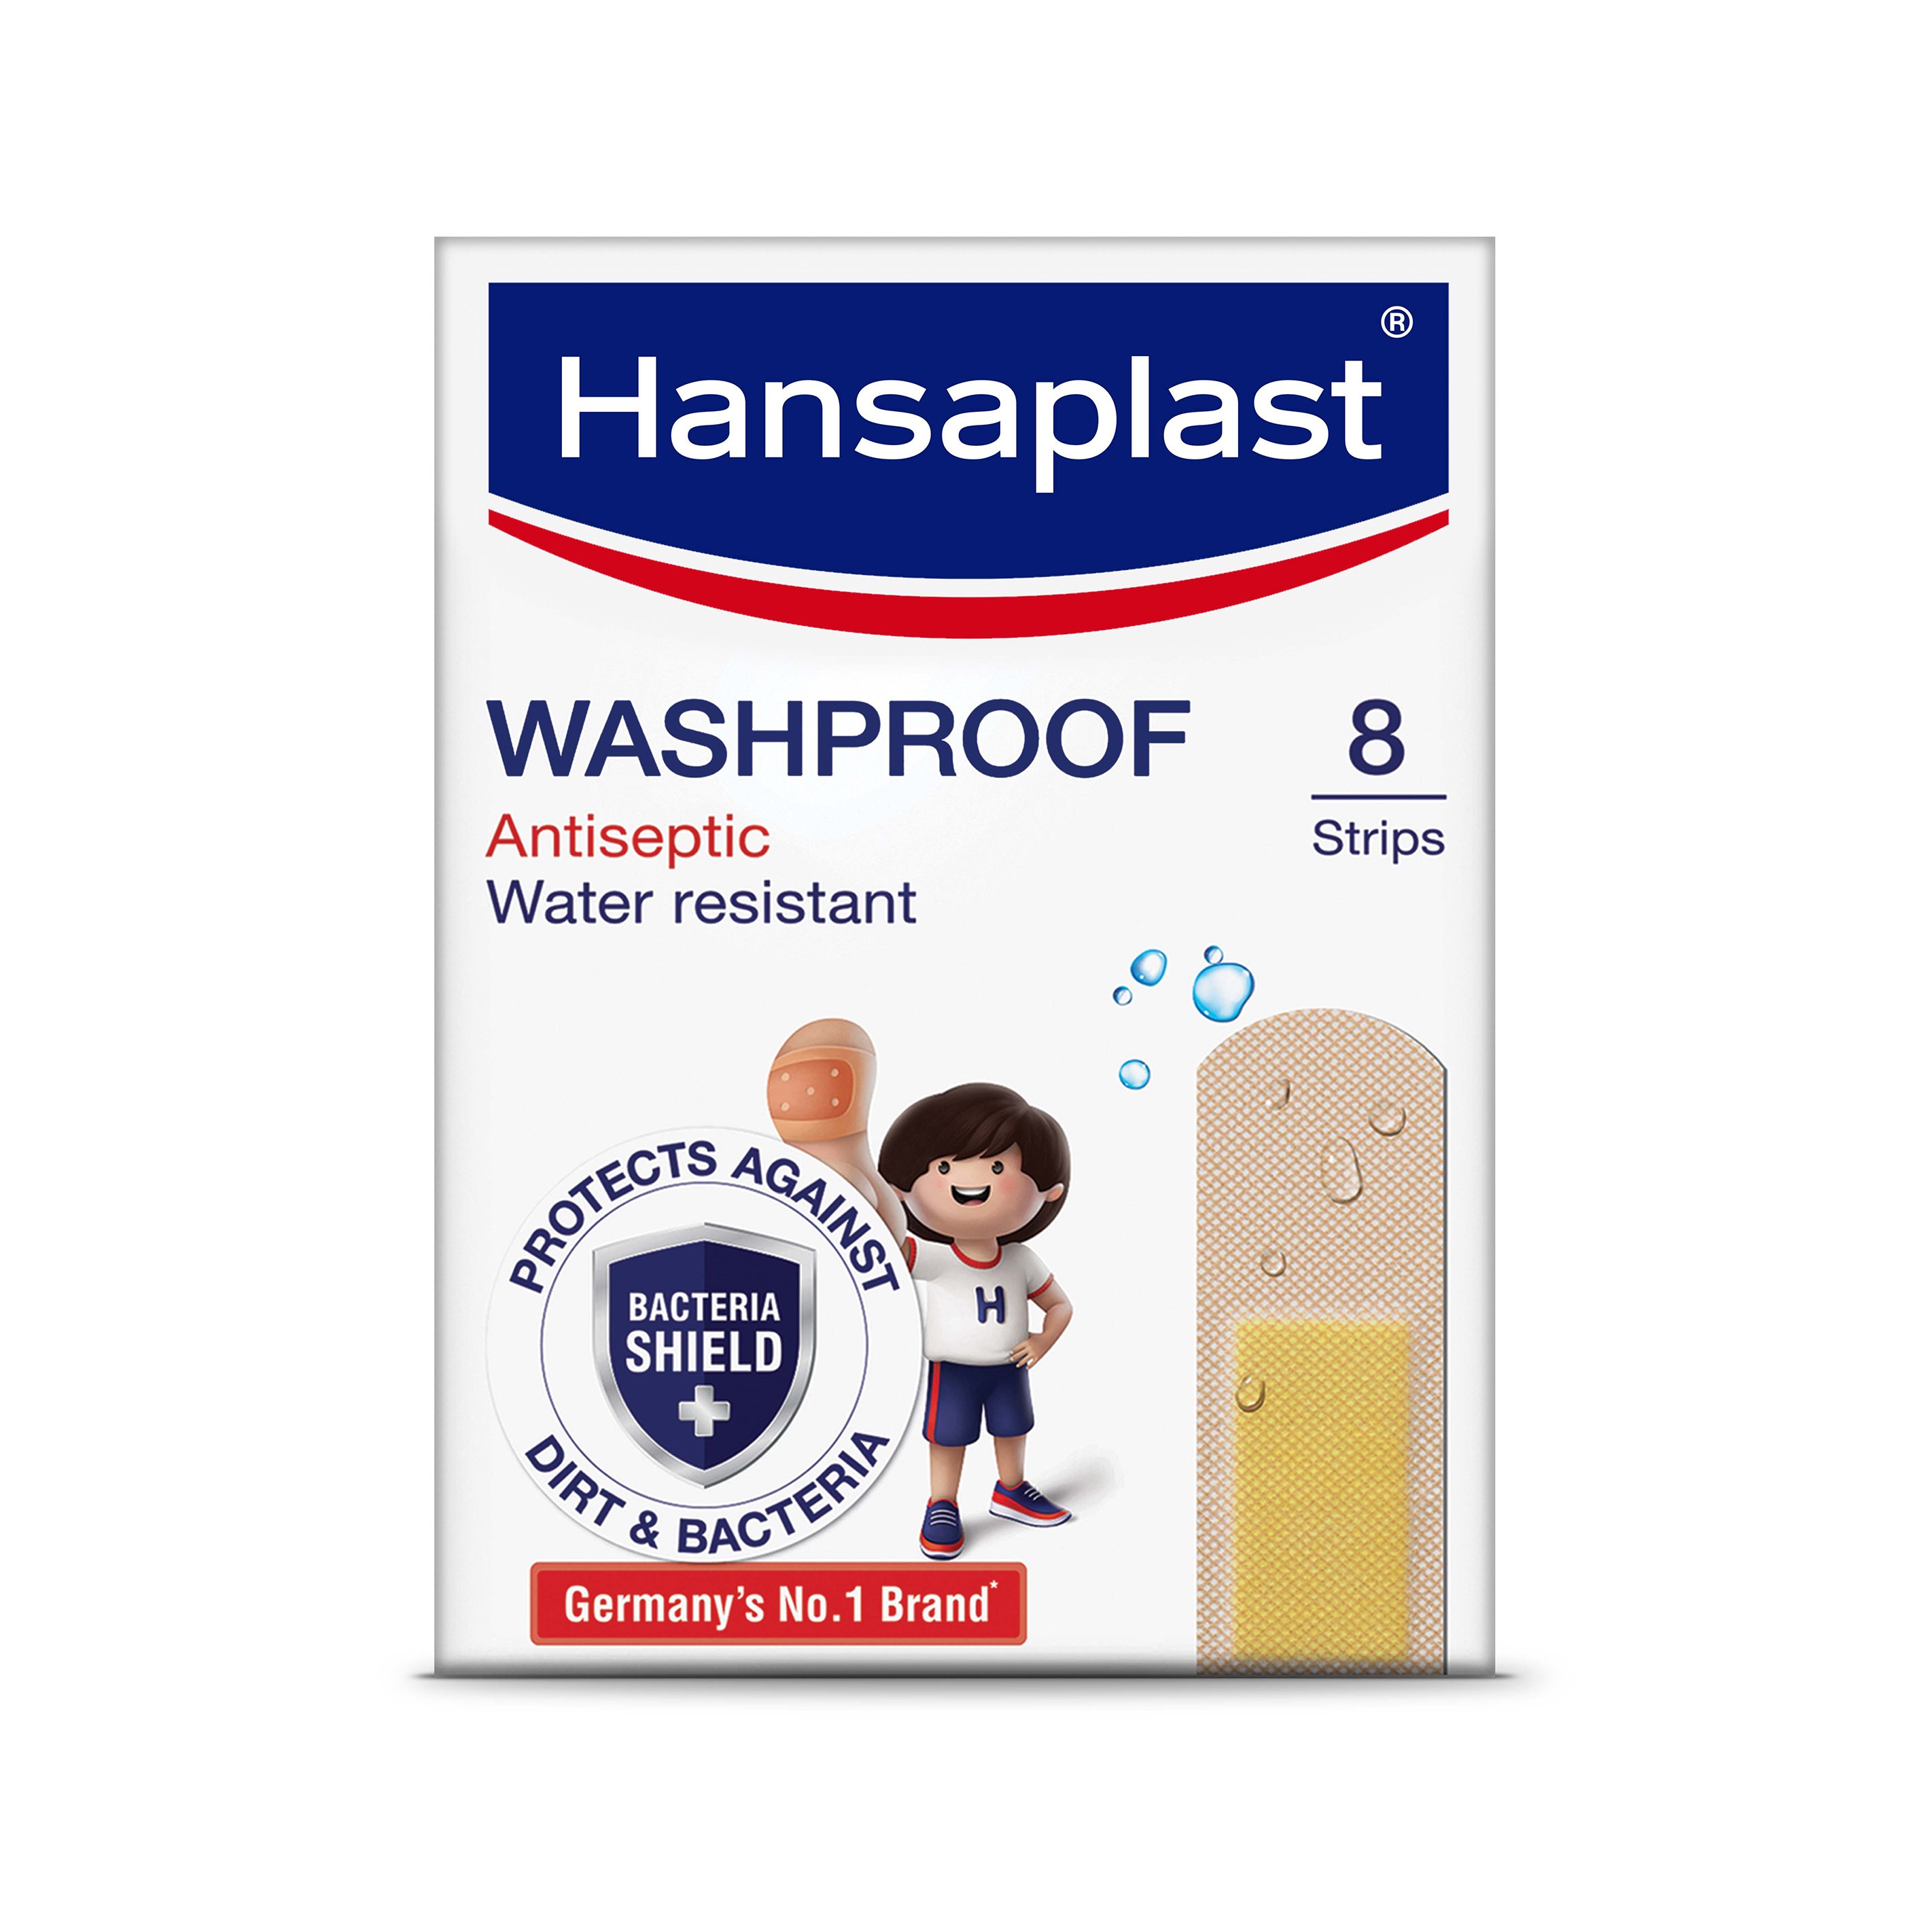
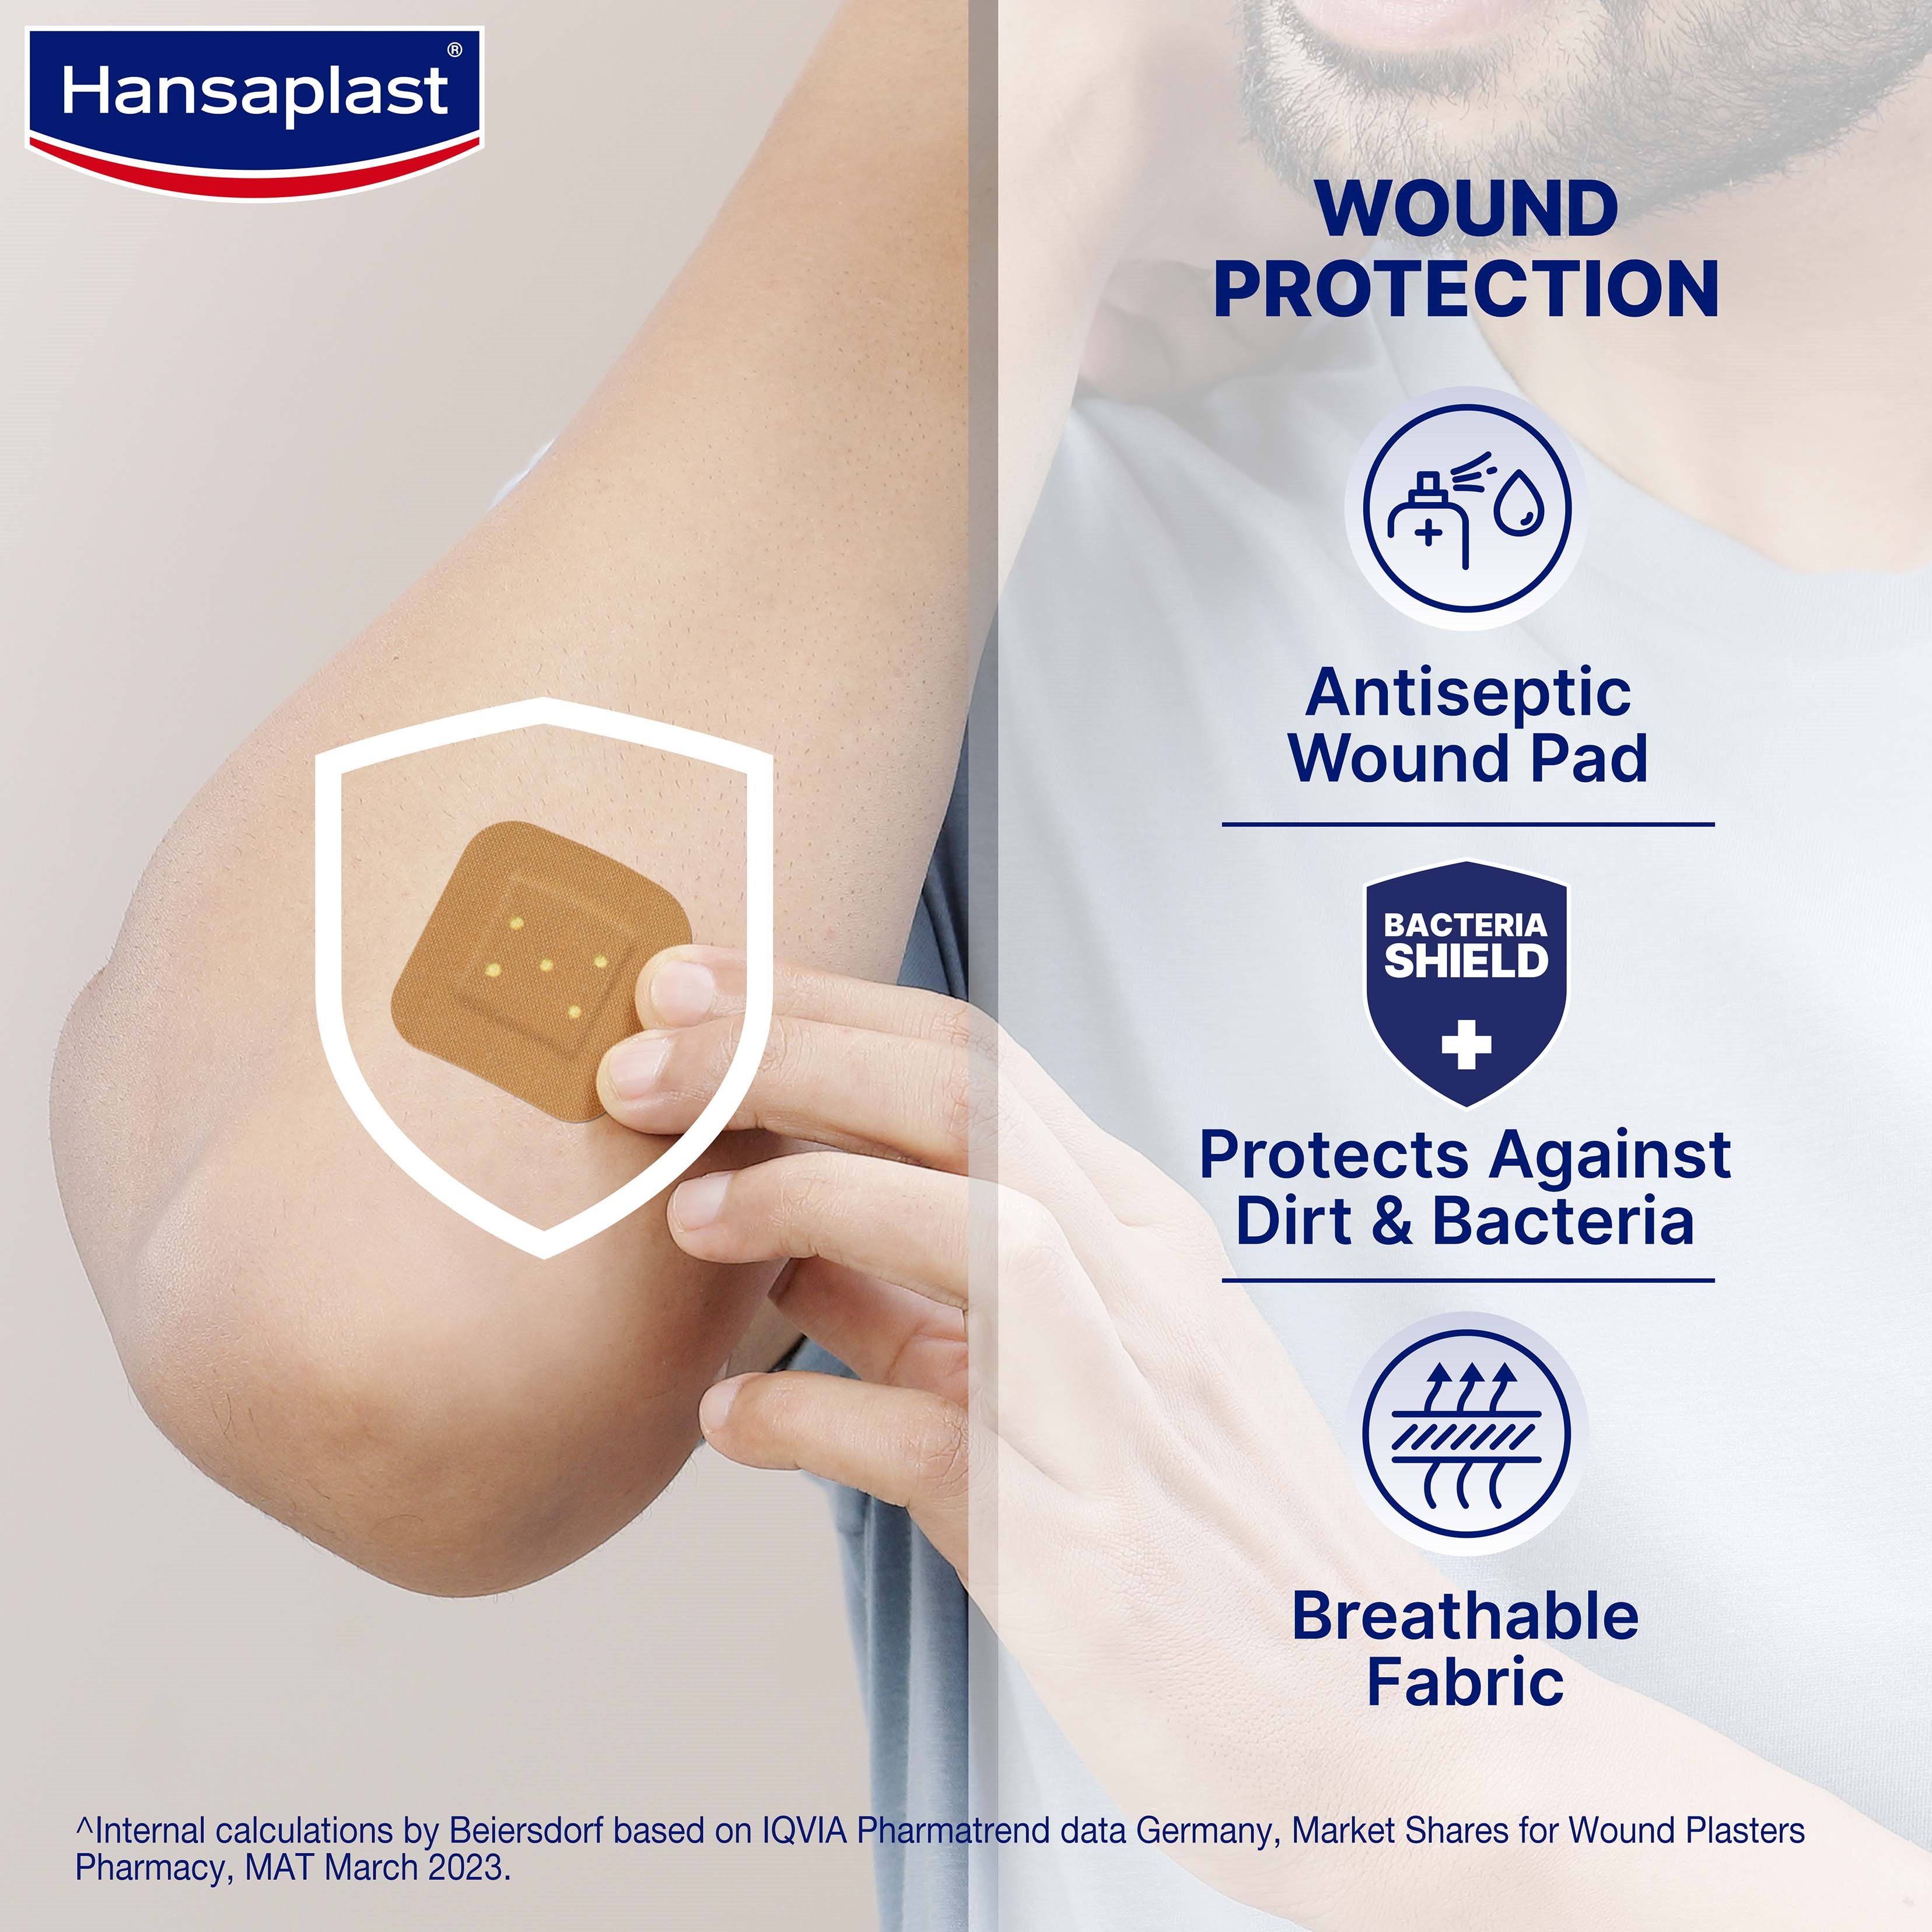
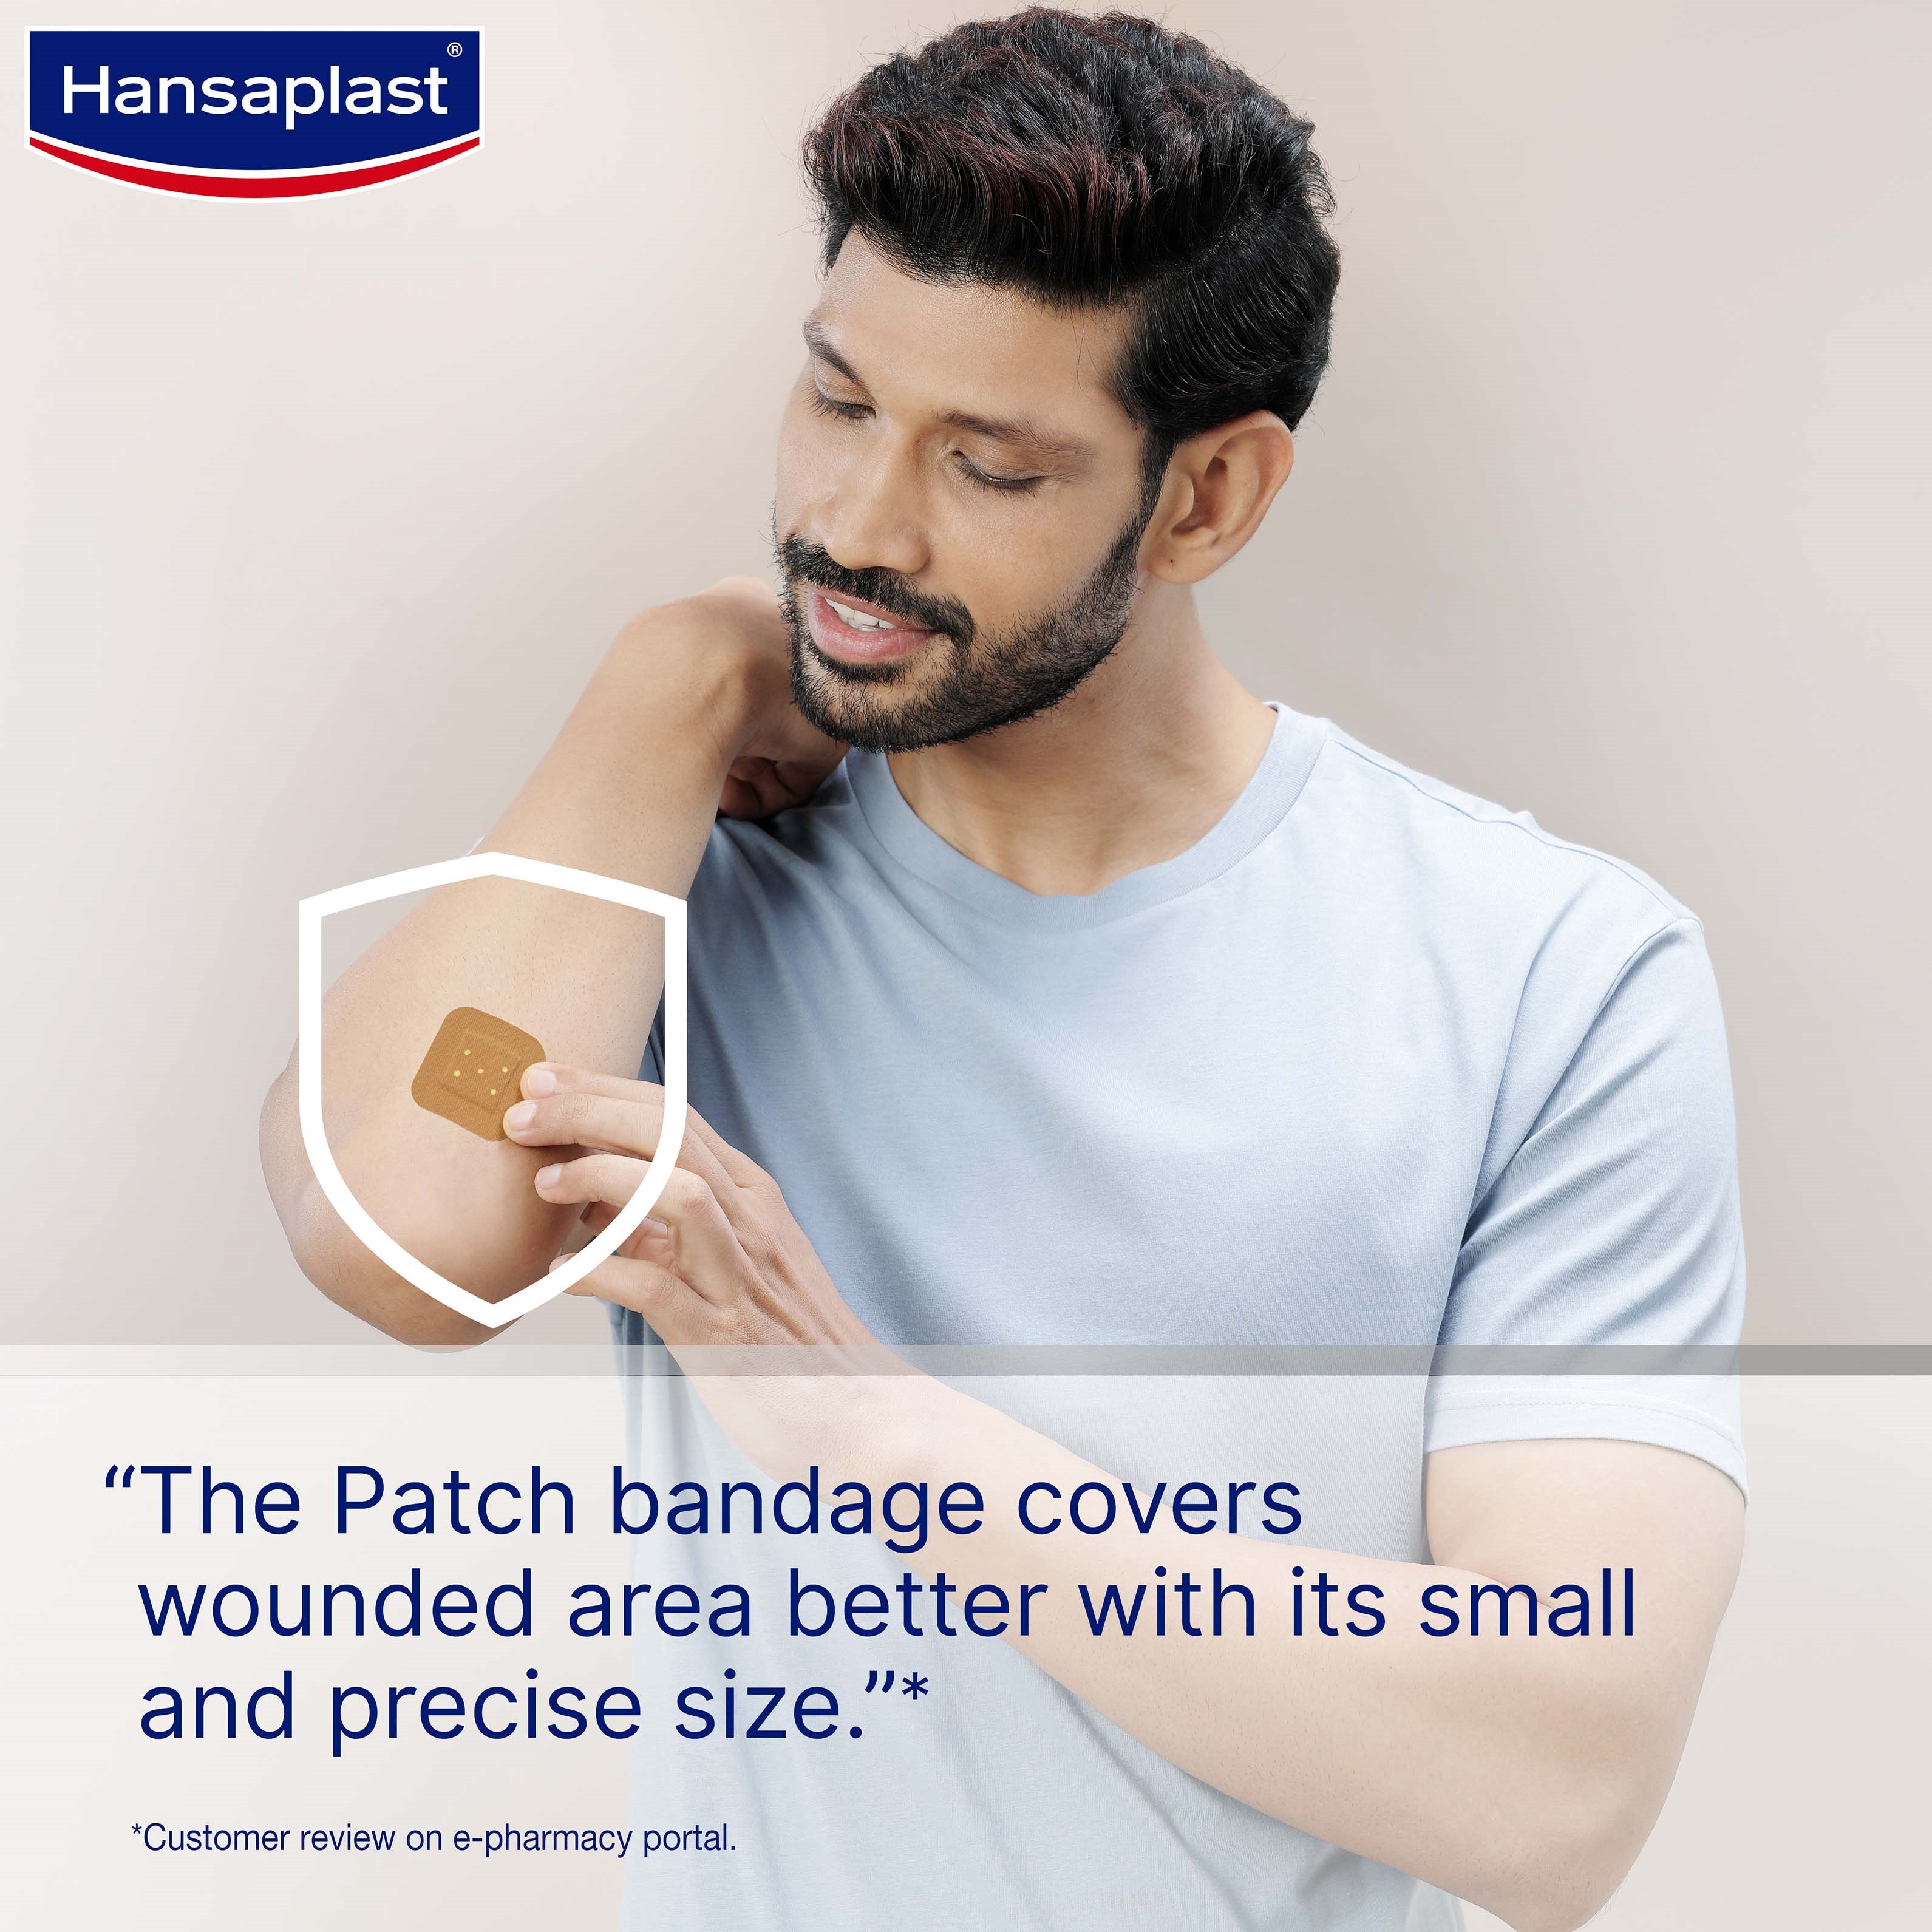
Patch Plaster: For elbows and knees
The Hansaplast Patch Plaster provides protection for knees and elbows as it offers the best wound coverage for knees and elbows due to their increased size. The wound pad helps seal the injury to prevent contamination. Designed specifically for joints, the plaster provides optimum coverage and protection from dirt, bacteria that may infect wounds.

*protects against dust and bacteria
Patch plasters work best on injuries on knees and elbows helping you with a complete range of motion. Be aware of commonly occurring minor wounds and know which plaster you can pick from a range of dressing to heal wounds faster.
How to Use


-
How often should I change my plaster?
For better hygiene, it is recommended that you change standard first aid dressings daily. -
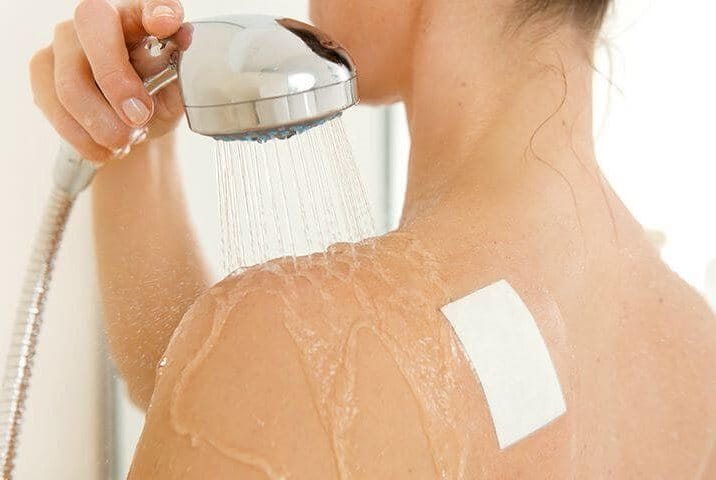
Is it better to let small wounds dry in fresh air instead of putting on a plaster?
It is a common myth that keeping minor cuts and grazes uncovered helps them heal faster. In reality, covering them ensures faster healing and better protection. Keep Hansaplast plasters handy in your first aid kit to provide quick support and protection to wounds. -
What if my wound gets infected, swells, creates pus or suppurates?
If there are any signs of infection or pus, please get in touch with a medical practitioner. You can tell your wound is infected if there is redness, heat, pain, itching, burning or swelling around the wound.